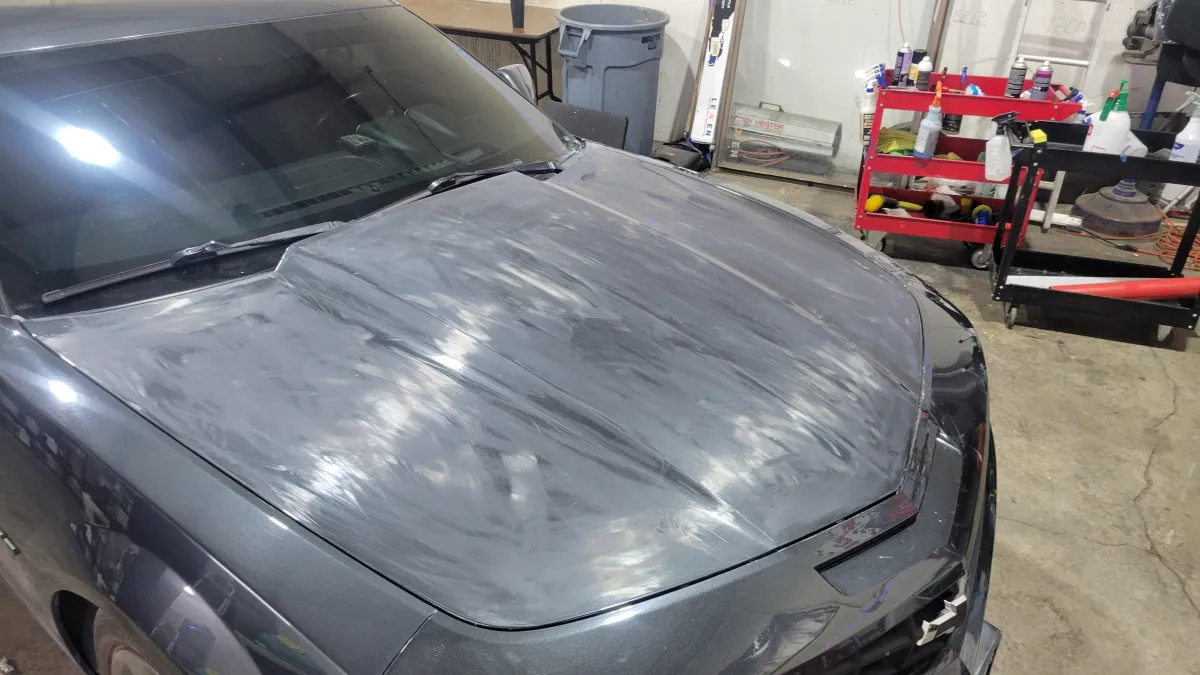
If this is your first time dealing with hail damage, the entire process, from spotting the damage to getting your vehicle back, can feel unfamiliar. Here's a complete walkthrough of what a typical first-time hail damage claim looks like from beginning to end.
Step One: Discovering the Damage
After a hailstorm, take time to inspect your vehicle carefully in good daylight. First-time claimants sometimes underestimate the extent of damage because hail dents can be subtle, particularly on certain paint colors or in less-than-ideal lighting.
Step Two: Documenting Everything
Photograph every affected panel clearly, and don't forget less obvious areas like mirrors, trim, and glass. This documentation becomes the foundation for both your insurance claim and your repair estimate.
Step Three: Confirming Your Coverage
Check that you have comprehensive coverage, since this is the coverage type that applies to weather-related damage like hail. If you're unsure, a quick call to your insurance provider clarifies this before you move forward with filing.
Step Four: Getting a Professional Assessment
A trained technician evaluates your vehicle panel by panel, identifying every dent and checking paint condition to determine the appropriate repair approach, almost always centered on paintless dent repair for hail damage specifically.
Step Five: Receiving Your Repair Estimate
Based on the assessment, you'll receive a detailed, itemized repair estimate. For first-time claimants, this document might look unfamiliar, but it typically breaks down cost by panel, dent count, and repair method.
Step Six: Filing Your Claim
With your documentation and estimate ready, you'll submit your claim through your insurance company, either online, by phone, or through their claims app. You'll need your policy information and details about when and where the storm occurred.
Step Seven: Claim Review
An adjuster reviews your submitted claim, which may include reviewing your photos and estimate, or in some cases, conducting their own inspection. This step can take anywhere from a few days to a couple of weeks depending on claim volume, particularly after a widespread regional storm.
Step Eight: Claim Approval
Once approved, you'll receive confirmation of coverage, including your deductible amount and the total approved repair cost. This is your green light to move forward with scheduling the actual repair.
Step Nine: Scheduling Your Repair
At this point, you'll coordinate with your repair provider on timing. Ask specifically whether your vehicle needs to be dropped off now or was already scheduled to only go in once approval came through, since this significantly affects your total time without a vehicle.
Step Ten: The Repair Itself
Once your vehicle is at the shop, most paintless dent repair jobs are completed within two to three days, extending to four or five days if any parts replacement is needed.
Step Eleven: Pickup and Final Inspection
When your repair is complete, take a moment to walk around your vehicle and confirm you're satisfied with the results before finalizing pickup. This is also a good time to ask about warranty details for the completed work.

Filing your first hail damage claim? Request your free assessment to get started.